Imagine a secret spell that transforms humble flour and water into a dough so supple, so resilient, it rises with the grace of a morning sunbeam-welcome to the enchanting world of autolyse. In the realm of artisanal baking, this simple yet magical technique is the unsung hero behind breads with tender crumb, glossy crusts, and complex flavor profiles. But what exactly is autolyse, and why do bakers swear by its transformative powers? In this article, we’ll unlock the mystery of autolyse, exploring how this gentle rest period unleashes bread’s true potential, turning everyday ingredients into edible poetry. Whether you’re a curious home baker or a seasoned pro, discovering the art and science of autolyse might just elevate your baking from routine to remarkable.
Unlocking Bread Magic: What Is Autolyse in Baking? is a transformative technique that revolutionizes how bakers develop flavor, texture, and dough elasticity. Rooted in traditional French bread-making, autolyse involves resting the flour and water before kneading, allowing natural enzymes to awaken and gluten strands to strengthen gently. This hands-off moment fosters a richer crumb, enhanced aroma, and a more manageable dough that’s a joy to work with.
Prep and Cook Time
- Preparation: 15 minutes
- Autolyse Rest: 20-40 minutes
- Kneading and Proofing: 3-4 hours (depending on recipe)
- Baking: 30-45 minutes
Yield
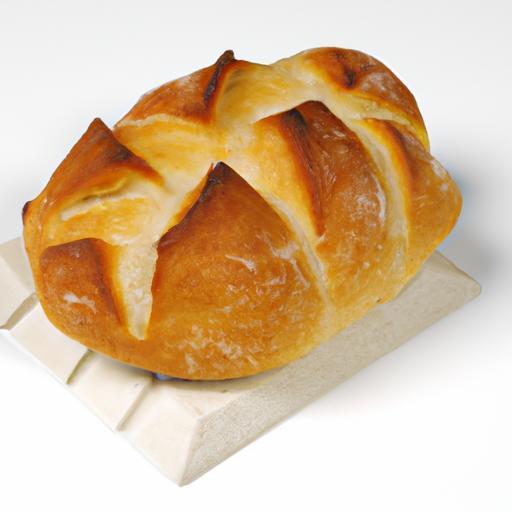
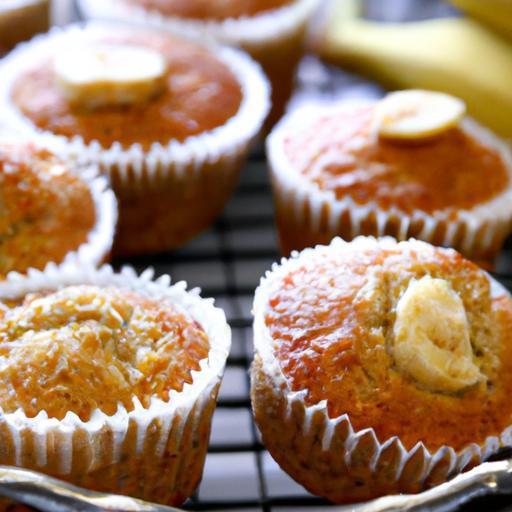
One standard artisan loaf, approximately 800g to 900g, serving 8 slices.
Difficulty Level
Medium – Ideal for bakers comfortable with basic bread-making who want to deepen their craft.
Ingredients
- 3 cups (360g) bread flour, sifted for best incorporation
- 1 ¼ cups (300ml) lukewarm water, around 75°F (24°C)
- 2 teaspoons (8g) fine sea salt
- 1 teaspoon (3g) active dry yeast (optional, depending on recipe)
Instructions
- Combine Flour and Water: In a large mixing bowl, gently mix bread flour and lukewarm water until fully hydrated, but do not knead. Use a wooden spoon or your hands to bring the dough together for about 30 seconds until no dry flour remains.
- Initiate Autolyse: Cover the bowl tightly with a damp towel or plastic wrap. Let the dough rest at room temperature for 20 to 40 minutes. This rest activates enzymes that improve dough extensibility and flavor development.
- Add Salt and Yeast: After the autolyse, sprinkle salt and yeast evenly over the dough. Fold the dough several times to incorporate these ingredients thoroughly. This step prevents salt and yeast from inhibiting initial enzyme action during autolyse.
- Knead the Dough: Knead the dough on a floured surface for about 8 to 10 minutes until smooth and elastic. The autolyse rest will have made the dough silkier and easier to handle.
- Bulk Fermentation: Transfer the dough to a lightly oiled bowl, cover, and let it ferment for 2 to 3 hours at room temperature, folding every 30 minutes to build structure.
- Shape and Proof: Shape the dough into your desired loaf. Place it into a proofing basket or bowl dusted with rice flour. Cover and proof for 1 to 1.5 hours until doubled in size.
- Bake: Preheat your oven with a baking stone or Dutch oven to 450°F (232°C). Score the loaf and bake for 30 to 45 minutes, or until the crust turns deep golden brown and sounds hollow when tapped.
Tips for Success
- Precision in Hydration: Adjust water slightly depending on flour type; whole grain flours absorb more water.
- Rest Duration: Avoid auto-lysing over 50 minutes as extended rest can weaken gluten network.
- Temperature Control: Keep water lukewarm but not hot to preserve enzyme activity during autolyse.
- Folding Instead of Kneading: Use gentle folding during fermentation for best gluten development without tearing.
- Make-Ahead: You can refrigerate dough after autolyse for a slow, cold fermentation, enriching flavor complexity.
Serving Suggestions
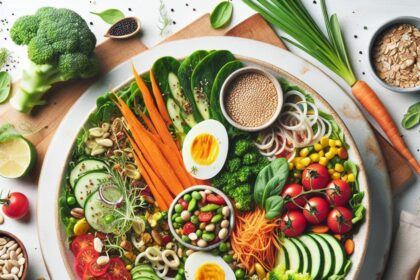
Present your loaf sliced thick, brushing each slice lightly with premium olive oil or a touch of herb butter. Complement with fresh cheeses, smoked meats, or fragrant tapenades. For brunch, serve alongside a colorful medley of heirloom tomatoes drizzled with balsamic glaze, fresh basil, and a sprinkle of flaky sea salt to truly elevate each bite.

| Nutrient | Per Slice (⅛ loaf) |
|---|---|
| Calories | 180 |
| Protein | 6g |
| Carbohydrates | 37g |
| Fat | 1g |
Expanding your baking repertoire with this technique unlocks a subtle mastery of texture and natural flavors. For further insights on fermenting bread safely and successfully, check out King Arthur Baking’s guide on sourdough, a superb resource that complements the autolyse method perfectly. Also, explore our in-depth guide to bread making techniques to broaden your knowledge.
Q&A
Q&A: Unlocking Bread Magic – What Is Autolyse in Baking?
Q1: What exactly is autolyse, and why is it called “unlocking bread magic”?
A1: Autolyse is a deceptively simple but transformative step in bread-making where flour and water mingle in a quiet, doughy dance before yeast or salt enter the scene. This rest period-usually 20 minutes to an hour-triggers natural enzymatic processes that hydrate flour and start gluten development, resulting in dough that’s easier to handle, more flavorful, and gives your bread a gloriously open crumb. It’s magical because it turns basic ingredients into a superior dough with less effort!
Q2: How does autolyse work on a scientific level?
A2: Think of autolyse as a mini science experiment where flour meets water and enzymes get to work. Specifically, amylase enzymes break down starches into sugars, feeding yeast later on, while protease enzymes soften gluten strands, making the dough more extensible. This enzymatic handshake improves dough texture and flavor naturally, without kneading it into submission.
Q3: Is autolyse suitable for all kinds of bread?
A3: While autolyse shines brightest with artisan breads-think rustic sourdoughs or crusty baguettes-it’s a versatile tool. Most lean doughs (those with just flour, water, yeast, and salt) benefit noticeably. However, doughs rich in fats, sugar, or dairy (like brioche or enriched sandwich breads) don’t always respond as dramatically, so autolyse may be less impactful or require adjustment.
Q4: Do I need to add yeast or salt during autolyse?
A4: Nope! Traditional autolyse purposely excludes yeast and salt. Salt can tighten gluten and slow enzymatic activity, so it’s held back until after the rest. Yeast is also introduced later to keep fermentation timing flexible. This staged approach allows flour and water to do their work undisturbed.
Q5: How does autolyse affect the final bread?
A5: Expect a dough that’s silkier and more elastic, which translates into easier shaping and a loaf with better volume and texture. The crumb will be more open and airy, and the crust more beautifully caramelized. Plus, breads with autolyse often boast more nuanced, developed flavors-like unlocking a secret recipe from simple ingredients.
Q6: Can I skip autolyse and still make good bread?
A6: Absolutely! Bakers have been making great bread for centuries without autolyse. But incorporating it is like having a backstage pass to elevating your dough’s potential without fancy tricks. It saves time and effort during kneading and pays dividends in taste and texture, making it a worthy addition to your baking routine.
Q7: How do I perform an autolyse at home?
A7: Mix your flour and water until just combined-no need to knead. Let the mixture rest, covered, at room temperature anywhere from 20 minutes up to an hour. Once the timer’s up, add salt and yeast, then proceed with your usual kneading or folding technique. Experiment with rest times to find what unlocks the best magic in your baking!
Unlocking the magic of bread with autolyse is like giving your dough a moment to breathe, wake up, and show you what it’s truly capable of. Next time you bake, consider this quiet pause your secret ingredient!
The Conclusion
As we close the chapter on the enchanting world of autolyse, it’s clear that this simple yet transformative step is nothing short of bread magic. By allowing flour and water to mingle and awaken naturally, autolyse unlocks flavors, strengthens gluten, and breathes life into dough in ways that conventional mixing can’t replicate. Whether you’re a seasoned baker or just beginning to explore the alchemy of bread-making, embracing autolyse invites patience, curiosity, and a deeper connection to the craft. So next time you set out to bake, remember: sometimes, the secret to extraordinary bread lies in a little pause-a quiet moment where flour and water conjure wonder all on their own. Happy baking!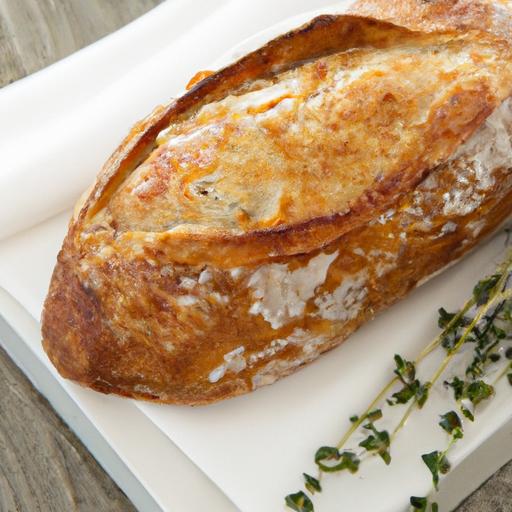


