
In the ever-evolving world of fitness snacks, finding the perfect balance between taste, texture, and nutrition can feel like chasing a mirage-until now. Enter Crunchy Gains: How to Make DIY Baked Protein Chips, your new go-to guide for transforming simple ingredients into a satisfyingly crispy powerhouse of protein. These chips aren’t just a snack; they’re a handcrafted fusion of flavor and functional fuel, designed to keep your muscles happy and your taste buds dancing. Whether you’re gearing up for a workout, recovering after a grind, or simply craving a guilt-free crunch, this article will walk you through the delicious art of baking your own protein-packed chips at home. Get ready to elevate your snack game from ordinary to extraordinary-one crunchy bite at a time.
Crunchy Gains begins with understanding the magic of transforming simple proteins into addictive, crispy baked chips. These snacks combine science and culinary artistry, delivering a perfect crunch paired with elevated nutrition. Whether you’re fueling a post-workout boost or craving a guilt-free treat, mastering texture and taste is the key to unlocking your homemade protein chip success.
Prep and Cook Time
Preparation: 15 minutes Cooking: 20 minutes Total: 35 minutes
Yield
Serves 4-6 as a satisfying snack
Difficulty Level
Easy
Ingredients
- 1 cup whey protein isolate
- ½ cup chickpea flour (for hearty texture)
- 2 tbsp ground flaxseed (adds binding and omega-3s)
- 1 tsp baking powder
- ½ tsp salt
- 1 tsp smoked paprika (optional, for smoky flavor)
- ¾ cup water
- 2 tbsp olive oil
- 1 tbsp nutritional yeast (for cheesy umami)
- Fresh herbs or spices of choice (like garlic powder, chili flakes)
Instructions
- Preheat your oven to 325°F (165°C). Line a baking sheet with parchment paper or a silicone mat for easy chip removal.
- In a large bowl, whisk together whey protein isolate, chickpea flour, ground flaxseed, baking powder, salt, smoked paprika, and nutritional yeast. This blend is a powerhouse for texture and flavor foundation.
- Gradually add water and olive oil while stirring continuously to form a smooth, thick batter. It should be pliable but spreadable. If too thick, add water one tablespoon at a time.
- Spread batter thinly
- Bake for 15 minutes, then remove and use a pizza cutter or sharp knife to score the batter into chip-sized squares or triangles. Return to oven.
- Continue baking
- Cool chips completely
- Store
Tips for Success
- Protein choice matters: Whey protein isolate offers subtle sweetness and great binding, but plant-based proteins like pea or rice protein can be used for vegan options-expect slight variations in texture.
- Flour alternatives: Chickpea flour adds nuttiness and fiber; substitute with oat or almond flour for different flavor profiles, but adjust water accordingly.
- Thickness control: Spreading the batter too thick results in chewy chips; aim for uniform thinness to guarantee crispness.
- Rest after baking: Patience is part of the science-chips will firm up as they cool, turning crunchy.
- Experiment with flavor: Try fresh herbs like rosemary or spice blends like za’atar for exciting taste twists.
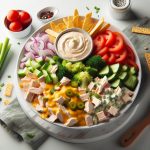
Serving Suggestions
Present your protein chips with a side of vibrant salsa verde, creamy avocado dip, or a tangy Greek yogurt and herb sauce. Garnish with a sprinkle of coarse sea salt, a dust of chili powder, or toasted sesame seeds to captivate both eyes and palate. Serving in rustic bowls with fresh microgreens elevates the snack’s visual appeal, perfect for sharing or solo enjoyment.
| Nutrient | Per Serving (approx.) |
|---|---|
| Calories | 140 kcal |
| Protein | 15 g |
| Carbohydrates | 8 g |
| Fat | 5 g |
For more creative homemade protein snack recipes, explore our high protein snack ideas. To dive deeper into the science of protein and muscle health, check this resource from NCBI.

Q&A
Q&A: Crunchy Gains – How to Make DIY Baked Protein Chips
Q1: What are baked protein chips, and why should I try making them at home?
A1: Baked protein chips are a crunchy, savory snack packed with protein, designed to fuel your muscles while satisfying your cravings. Making them at home lets you customize flavors, control ingredients, and skip the extra preservatives and oils found in store-bought versions. Plus, they’re a fun, hands-on way to boost your snack game!
Q2: Which protein sources work best for DIY baked protein chips?
A2: Popular options include protein powders (whey, pea, or soy), chickpea flour, lentil flour, and even ground nuts or seeds. Each offers a unique texture and flavor, so experiment to find your favorite. Using a combination of protein-rich flours and powders often yields the best crunch and nutrition.
Q3: How do I ensure my protein chips turn out crispy and not chewy or soft?
A3: The secret lies in the thinness of your chip dough and proper baking time. Roll the dough out evenly and thinly-about 1/8 inch is ideal. Bake at a moderate temperature (around 325°F/160°C) until golden and crisp. Don’t forget to flip halfway through baking for even crispness!
Q4: What are some creative flavor ideas for my DIY protein chips?
A4: The sky’s the limit! Try smoky paprika and garlic powder for a BBQ twist, nutritional yeast for a cheesy vibe, or a sprinkle of chili flakes and lime zest for a zesty kick. Sweet versions can include cinnamon and a touch of stevia or honey for balance.
Q5: Can these protein chips fit into my fitness or weight loss plan?
A5: Absolutely! They’re high in protein and generally lower in carbs and fats compared to traditional chips. Portion control is key-pair them with nutrient-rich dips like Greek yogurt or guacamole for a balanced snack that keeps you fueled and satisfied.
Q6: How should I store my baked protein chips to keep them fresh and crunchy?
A6: Cool the chips completely after baking, then store them in an airtight container at room temperature. Including a food-safe desiccant packet or a small piece of bread in the container helps absorb moisture and preserves that coveted crunch longer.
Q7: Are protein chips suitable for all diets?
A7: With a bit of tweaking, yes! Use plant-based protein powders for vegan-friendly chips, and opt for gluten-free flours to accommodate gluten sensitivities. Homemade recipes offer great flexibility to suit your dietary needs.
Crunch your way to gains with this delicious DIY snack that turns simple ingredients into a powerhouse crunch. Ready to bake your way to better snacking?
Final Thoughts
Whether you’re powerlifting or powering through work, these DIY baked protein chips offer a crunchy, satisfying way to fuel your gains without the guilt. Packed with muscle-loving nutrients and free from the mystery ingredients in store-bought snacks, they prove that eating clean doesn’t mean sacrificing flavor or fun. So next time hunger strikes, grab your favorite protein blend, your oven mitts, and get ready to chip away at your fitness goals-one crispy bite at a time. Crunchy gains have never tasted so good!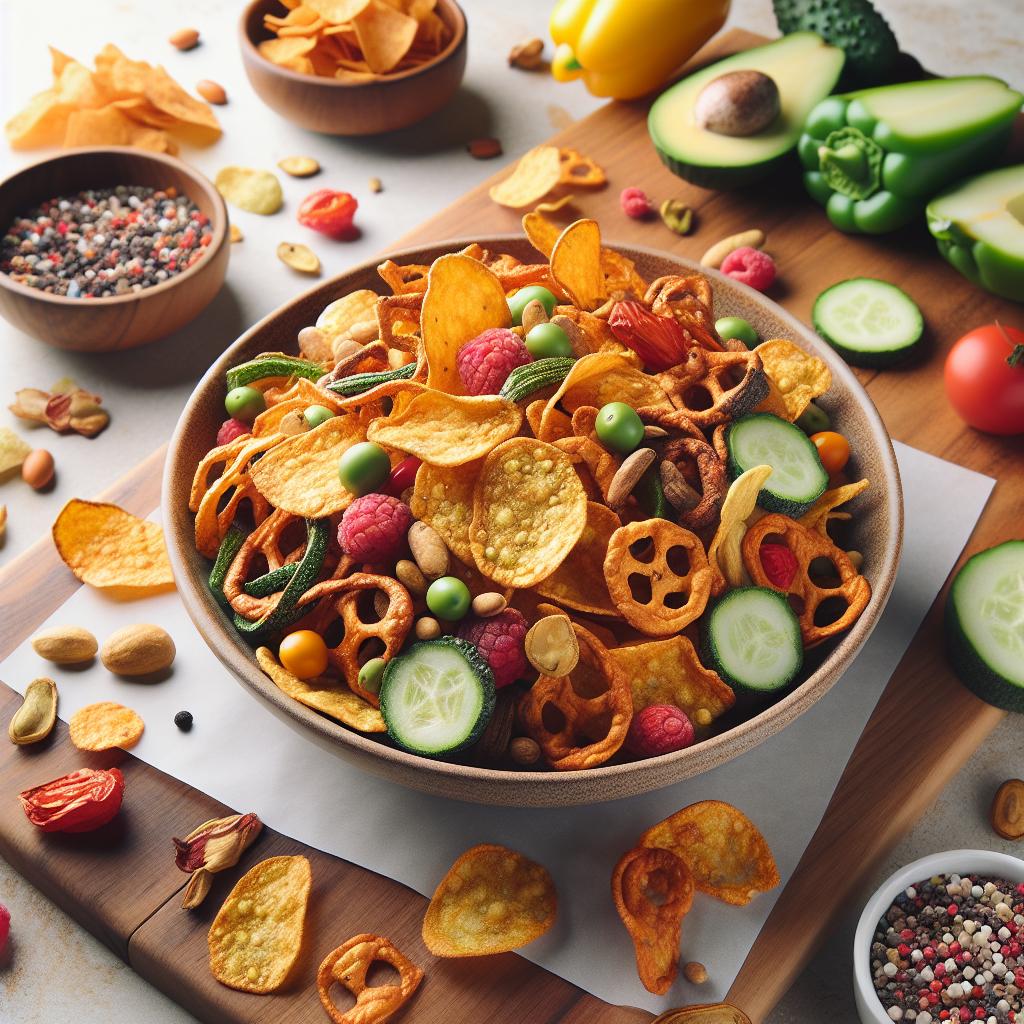


