
In a world that never seems to slow down, finding quick, nutritious snacks that fuel our busy lives can feel like a quest for the holy grail. Enter no-bake homemade protein bars-your new go-to allies in the battle against hunger and fatigue. These delightful bites combine wholesome ingredients with effortless preparation, proving that eating healthy doesn’t have to be complicated or bland. Whether you’re a fitness enthusiast, a busy professional, or simply someone craving a tasty pick-me-up, these bars promise to deliver a perfect balance of flavor, nourishment, and convenience. Ready to shake up your snack game? Let’s dive into the world of no-bake homemade protein bars-easy to make, healthy to eat, and deliciously satisfying!
No-Bake Homemade Protein Bars offer an effortless way to fuel your day with wholesome energy and satisfy your snack cravings in the healthiest fashion. Perfectly combining convenience, nutrition, and taste, these bars have become a staple for fitness enthusiasts, busy professionals, and anyone seeking a guilt-free indulgence. Whether you’re powering through a workout or need a quick bite between meetings, crafting your own bars at home ensures you control every ingredient, tailoring flavors and textures to suit your palate.
Prep and Cook Time
- Preparation: 15 minutes
- Setting/Chilling: 1 hour
- Total Time: 1 hour 15 minutes
Yield
Makes approximately 12 bars, perfect for a week’s worth of snacks.
Difficulty Level
Easy: No baking required, minimal kitchen tools needed.
Essential Ingredients for Nutritious and Delicious No Bake Bars
- 1 ½ cups rolled oats, lightly toasted for extra flavor
- 1 cup natural peanut butter (or almond butter for a nut-free option)
- ½ cup honey or pure maple syrup as a natural sweetener
- 1 scoop vanilla protein powder (whey or plant-based)
- ¼ cup chia seeds for added fiber and omega-3 fatty acids
- ¼ cup mini dark chocolate chips (optional, for a touch of indulgence)
- 1 tsp pure vanilla extract
- Pinch of sea salt to balance sweetness
- Optional add-ins: chopped nuts, dried fruit, or shredded coconut
Step by Step Guide to Crafting Your Own Protein Bars at Home
- Toast the oats: Spread rolled oats on a baking sheet and toast in a preheated oven at 350°F (175°C) for 5-7 minutes until golden and fragrant. This deepens their nutty flavor, adding dimension to your bars.
- Mix wet ingredients: In a large bowl, combine the peanut butter, honey, and vanilla extract. Stir gently until smooth and well blended. Warm the mixture slightly if needed to help with mixing.
- Add dry ingredients: To the wet mix, gradually fold in the toasted oats, protein powder, chia seeds, and sea salt. Use a sturdy spoon or spatula to combine everything thoroughly. The mixture should be sticky but manageable.
- Incorporate extras: Gently fold in the mini dark chocolate chips and any optional add-ins like chopped nuts or dried fruits, distributing them evenly without overmixing.
- Press into pan: Line a 9×9-inch square baking pan with parchment paper, leaving sides overhanging for easy removal. Pour the mixture into the pan and press firmly using a spatula or your hands (lightly dampened) to create an even surface.
- Chill and set: Refrigerate the pan for at least 1 hour, allowing the bars to harden sufficiently for slicing.
- Slice and serve: Lift the set mixture with the parchment overhang and cut into 12 bars. For clean cuts, wipe your knife after each slice.
Tips and Variations to Customize Your Protein Bars for Every Taste
- For extra crunch: Add toasted chopped almonds, walnuts, or pumpkin seeds to the mixture before pressing.
- Vegan adaptation: Use maple syrup instead of honey and a plant-based protein powder.
- Sweetness adjustment: Taste the mixture before chilling and add more honey or sweetener if preferred.
- Nut-free idea: Substitute peanut butter with sunflower seed butter to accommodate allergies.
- Binding issues: If the mixture feels too dry, add a splash of almond milk or a bit more nut butter; too wet, add more oats or protein powder.
- Make ahead & storage: Store bars in an airtight container in the fridge for up to 7 days or freeze them individually wrapped for longer shelf life.
Serving Suggestions
Serve these bars as a quick breakfast on the go or a pre/post-workout boost alongside a refreshing fruit smoothie. For an elegant touch, sprinkle extra chia seeds or a dusting of cocoa powder on top. Pair with a cup of herbal tea or cold brew coffee to elevate your snack time. Wrapping bars individually with parchment paper also makes them a practical lunchbox treat.
| Nutritional Info (per bar) | Amount |
|---|---|
| Calories | 210 kcal |
| Protein | 12 g |
| Carbohydrates | 18 g |
| Fat | 10 g |

For additional wholesome snack ideas, check out our Healthy Snacking Guide, or learn more about the benefits of natural sweeteners from Healthline.
Q&A
Q&A: No-Bake Homemade Protein Bars – Easy, Healthy, and Tasty!
Q1: What makes no-bake protein bars a great choice compared to traditional baked bars?
A1: No-bake protein bars are a game-changer because they require zero oven time, making them quick and fuss-free. Plus, they often retain more nutrients since they aren’t exposed to heat, and their chewy texture can be more enjoyable than dry, crumbly baked bars. Perfect for busy mornings or post-workout fuel!
Q2: What are the basic ingredients needed for a no-bake protein bar?
A2: The magic mix usually includes protein powder (whey, plant-based, or collagen), natural binders like nut butter or mashed bananas, a sweetener such as honey or maple syrup, and a splash of milk or a milk alternative to bring it all together. Add-ins like oats, nuts, seeds, or dried fruit add texture and extra nutrition.
Q3: Can I customize these bars to suit my dietary preferences?
A3: Absolutely! No-bake bars are incredibly versatile. Vegan? Use plant-based protein powder and flax eggs if needed. Gluten-free? Opt for certified gluten-free oats and ingredients. Want lower sugar? Skip the sweeteners or use natural alternatives like stevia. Your pantry is your playground!
Q4: How long do homemade protein bars last and how should I store them?
A4: Stored in an airtight container in the fridge, your bars can stay fresh for up to one week. For longer storage, pop them in the freezer, where they keep for a month or more. Just thaw a bar or two as you need them, and enjoy like a pro snack ninja.
Q5: Are no-bake protein bars effective for muscle recovery and energy?
A5: Definitely! With a solid protein base and complex carbs, these bars deliver sustained energy and help rebuild muscle tissue after workouts. Plus, they’re perfect for a quick energy boost on the go – no kitchen or stove required.
Q6: Do these bars taste good or are they just healthy?
A6: The best part? They taste amazing! The combination of creamy nut butter, sweet honey, and your favorite mix-ins creates a delightful balance of flavors. You can tweak the recipe to lean into chocolatey, fruity, or nutty profiles – the taste possibilities are endless.
Q7: What’s the easiest way to make no-bake protein bars at home?
A7: Mix your dry ingredients first, then gently fold in the wet ingredients until combined. Press the mixture firmly into a lined dish, pop it in the fridge for a couple of hours, and voilà-cut into bars and enjoy! It’s that simple, and the process is perfect for beginners.
Q8: Can kids enjoy these protein bars?
A8: Yes! These bars make a nutritious, homemade snack perfect for kids, packed with energy and wholesome ingredients. Just watch the sweetness level and nut content depending on your child’s preferences and allergies.
Q9: Any pro tips for making the perfect no-bake protein bar?
A9: Use sticky ingredients like nut butter or mashed dates for better binding. Don’t be shy to add spices like cinnamon or vanilla extract for an extra flavor kick. And remember to press the mixture firmly to avoid crumbly bars!
Q10: Where can I find inspiration for different no-bake protein bar recipes?
A10: Online food blogs, YouTube channels, and recipe apps are treasure troves of creative no-bake bar ideas. Experiment with seasonal ingredients and flavors to keep your snack game fresh and exciting!
Ready to whip up your own batch? Your next delicious, nutritious, no-bake protein bar adventure awaits!
In Retrospect
Whipping up your own no-bake protein bars is more than just a recipe-it’s a delicious gateway to nourishing your body with wholesome, natural ingredients, all without firing up the oven. These easy, healthy, and tasty treats offer the perfect blend of convenience and nutrition, making them ideal for busy mornings, midday boosts, or post-workout refuels. So next time hunger strikes or your energy dips, reach for a homemade bar that’s crafted by you, tailored to your taste, and packed with the power your body deserves. Happy snacking-and here’s to fueling your adventures, one bite at a time!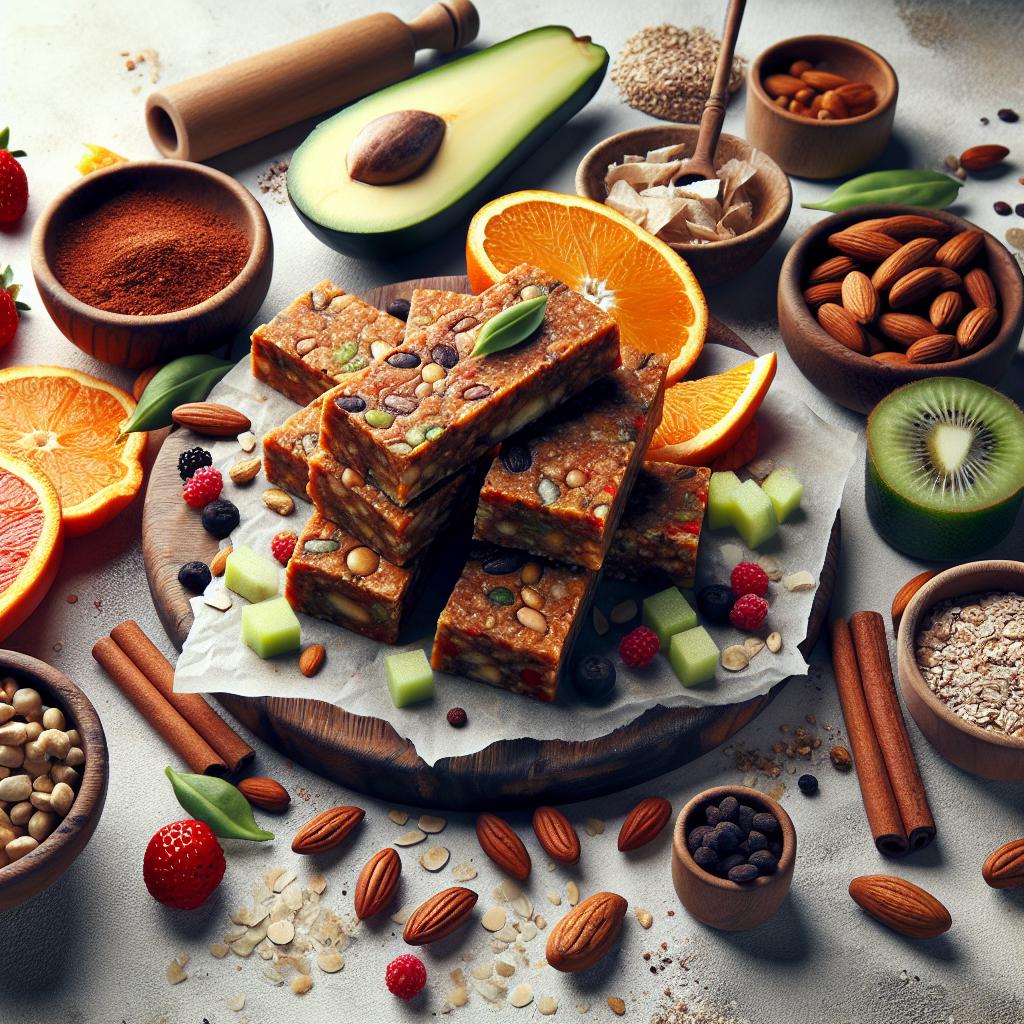


